In this article, I will demonstrate how to use PnP Provisioning Engine to provision a welcome page that will replace the default welcome page on Project sites.
Bonus: Are you developing custom components for Project Online? Then you need to check this blog post!
Default welcome page
When you create a new project site, using the Project Site template, you don’t get a Pages library by default. Instead, your page is just a .aspx file located on the root. Your default site URL will be something like https://tenantname.sharepoint.com/sites/pwa/jrtest/default.aspx
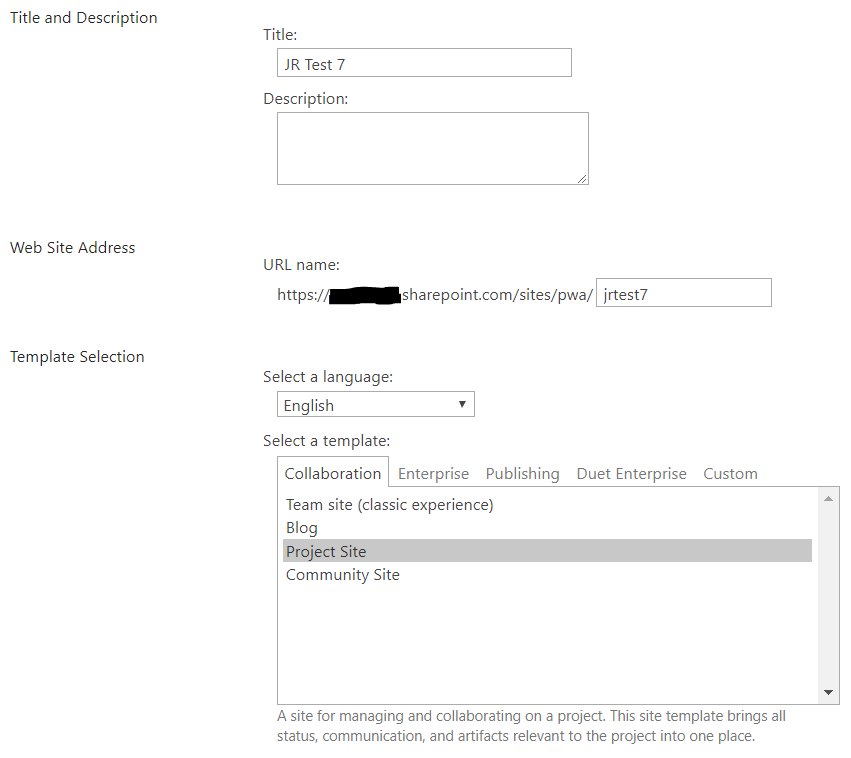
Let’s start by creating a new project site. Make sure you select the correct template: Project Site.

The welcome page should contain a Project Summary web part at the top as per the image below.

And if you go to the Site Contents page, you can confirm that there is no Pages library. So where exactly is your page? Well, just look carefully at the URL and you will notice that your page comes right after the site. And that’s exactly where your page is!
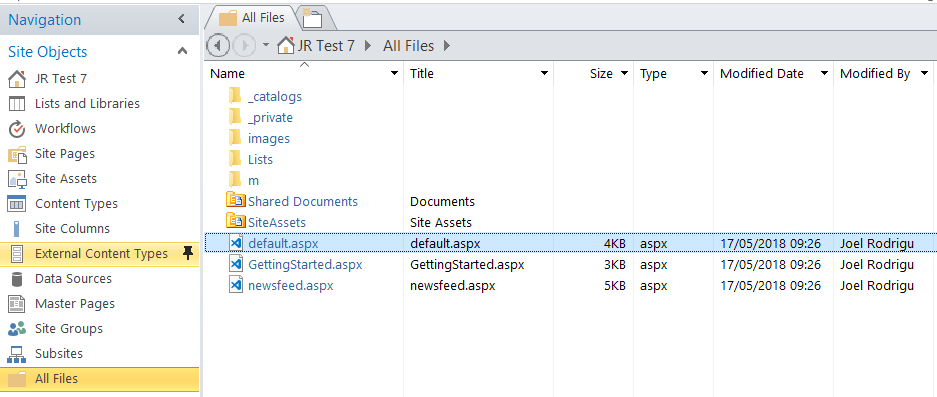
To access the page you can use, for example, SharePoint Designer to open the site and list it’s contents by clicking on the All Files option from the left navigation. You will find your page there.

New welcome page
Next, go to your file system and create a new default.aspx file. Copy the contents of the default.aspx file from SharePoint Designer into your new file. Alternatively, find a way to download the file.
We are going to use this file to create a page template. The first thing that you will notice is that the file content looks horrendous. This is because code is not very well-formatted and also because the default web parts are included on the page.
Start by removing all your web parts from the page, leaving only empty ZoneTemplate tags inside the WebPartPages:WebPartZone tags ().
Next, format the code so it’s easier to read. Your page should now look much better.
We have our page file ready. Let’s provision it as a File into the site and include the Project Summary web part as an example. From here you can add as many web parts as you wish.
To retrieve the XML of a web part, you can simply use the Get-PnPWebPartXml command from PnP PowerShell.
The important thing to mention at this point is that you need to provision the file into the root of your site (where the existing page is located) and set the property to overwrite the existing one. The provisioning template should look like this:

For simplicity, I have removed the web part XML, but you can simply paste there the XML extracted with Get-PnPWebPartXml. To add more web parts, simply create new pnp:WebPart elements.
Now simply apply the template to the site and you will notice that the page is updated. In this case, it will remove the default Getting Started and Documents web parts.